
Make This Double Sided Craft Room Sign
Double Sided Craft Room Sign
I can't wait to share this double sided craft room sign project with you. For the first time I used the Value Kraft stencils from DecoArt. The stencils were a lot of fun to use and the project, or should I say projects, went together really quickly.
Here is how this project started…
I was at a conference and our make and take was provided by DecoArt with not only these Value Kraft stencils, but also using their Americana paints. I have been a long time fan of Americana paints, but this was the first time I had used their stencils.
Our wood signs are from Walnut Hollow, another company I adore.
The Supplies
- Happy Crafting Value Kraft stencils
- Believe in Magic Value Kraft stencils
- Americana Snow (Titanium) White paint, Green Lagoon, and Royal Navy
- DecoArt Metallic Paint, Ruby
- Framed Sign, Large Square (Walnut Hollow)
- Foam Brushes and Liner Brushes
- Handle (The Home Depot)
- CORDLESS Hot Glue Gun
- Velcro Circles
- Ribbon
Some items listed above use my referral link, meaning it costs you no more and I make a small amount when you purchase using my links.
The Front Side
Here are the supplies used on the front side.

We started by covering our wood signs in whatever color paint we wanted, of course I went with my favorite color, white. Many will say this is not a color, but it truly is my favorite color.
After it dried, which was quickly, it was time to do our stencil work. We used makeup sponges to apply the paints. I was pleased with the results, and just had a bit of touchup to do from the paint bleeding under the stencil, as I have found happens with all stencils.
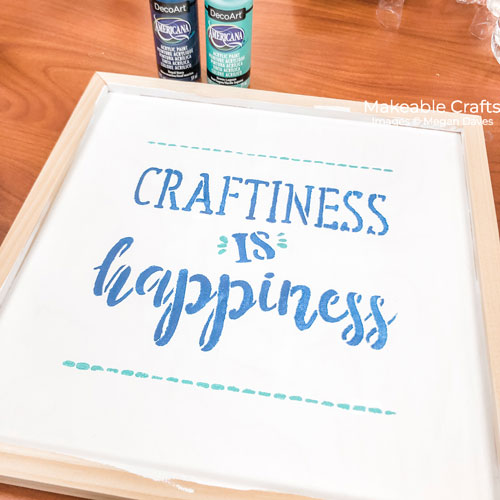
However, what REALLy impressed me was how easily the Americana Snow (Titanium) White paint covered the navy. I was in creation mode and had my phone charging, so I didn't get before and afters with this – but I did later for you and that's down below.
It Wasn't Finished Yet
I knew this project wasn't done even when it was done 🙂 If you don't know this about me, I LOVE double sided home decor. Love it more than my sock drawer kinda love.
It always makes me feel like such a rockstar as I feel I got more out of my purchase, like I got two signs instead of one.
The Other Side
Like I said, this is a double sided craft room sign. There truly is a back to this wood sign from Walnut Hollow where the staples show. This doesn't bother me in the least.
Here are the supplies used for the other side.
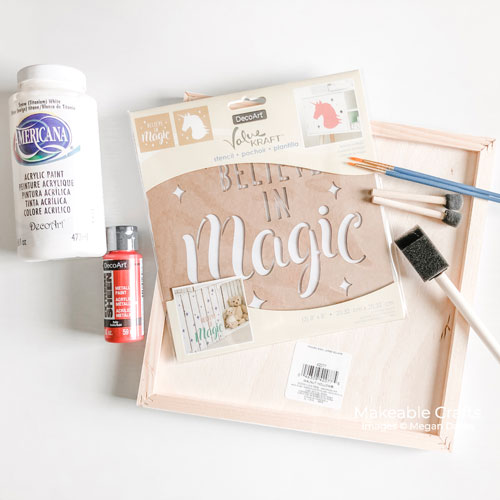
I started with a foam brush and the Americana Snow (Titanium) White paint. I did put two coats on to get really great coverage. The back side is more rough and unfinished from the front – that also doesn't bother me. Anytime I am working on the backside of something, I don't expect it to be like the finished front.

After it was painted, I put my stencil in place. These Value Kraft stencils come with two stencils in a package. The second stencil is a unicorn, not really my thing, but when I saw the Believe In Magic, I instantly thought Christmas.

Because we strongly believe in ceiling fans in Texas, I used painters tape to hold my stencil in place.
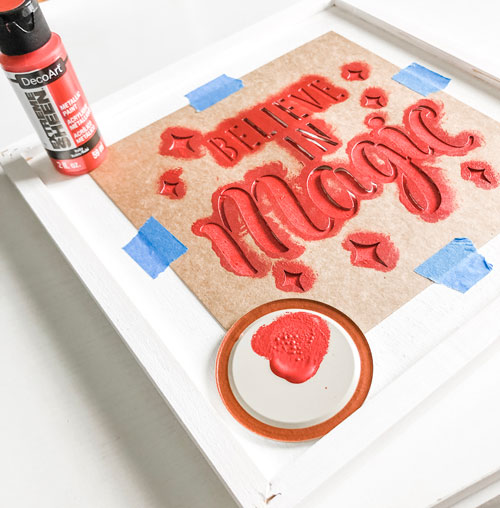
This time I used a foam dauber to apply my paint.
I am working with the DecoArt Metallic Paint for the first time also. I am hesitant with most metallic paints as they are just off somehow, but not this one, I was really pleased.
Covering the Stencil Bleed
This time I had more stencil bleed than the first time I used these stencils. I will be sure to grab makeup sponges at the store for the next time I am using them and see if that was the issue. I know there was more bleed this time because I was working on the backside of the wood sign.
And I was concerned, because covering red is not an easy thing.
Take a look at the letter A, here it is before covering the stencil bleed.
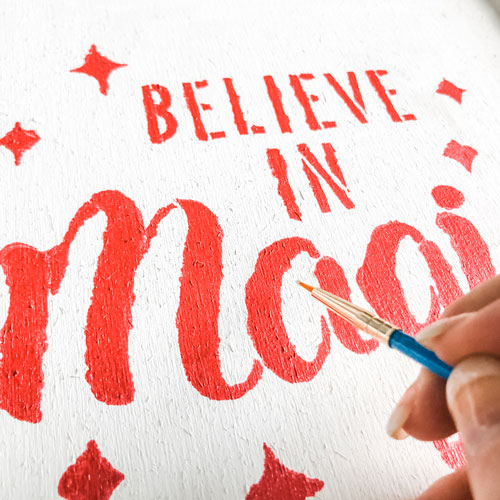
To cover the stencil bleed, I used just Americana Snow (Titanium) White paint and a liner brush. And it worked amazingly well. In most areas, one coat was enough, in a couple of spots I went back over it twice.

The Finishing Touches
I now have a double sided craft room sign that I can use all year and flip it over for the holidays. I do love to change up some details in my craft room and make it more festive.
Before I hung it up, I decided to add a handle. This handle is from The Home Depot and I used my favorite Cordless Glue Gun. I am not hanging my sign from the handle, the handle is for decoration only.

Apply the hot glue and then stick down your handle.
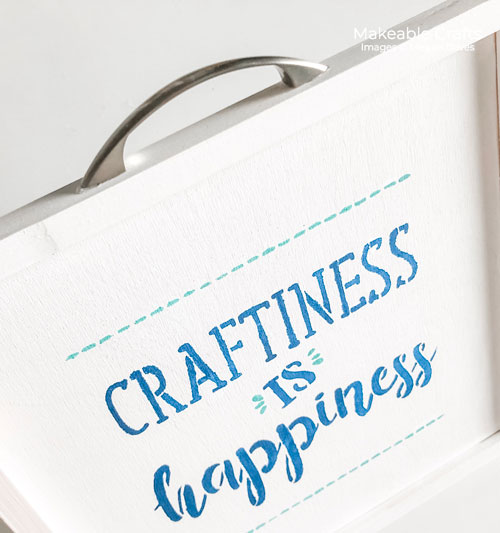
Then it was time to add a bow 🙂 Going with Velcro circles, I cut one in half and used one piece for each side of my sign.

Here is the crafting sign:
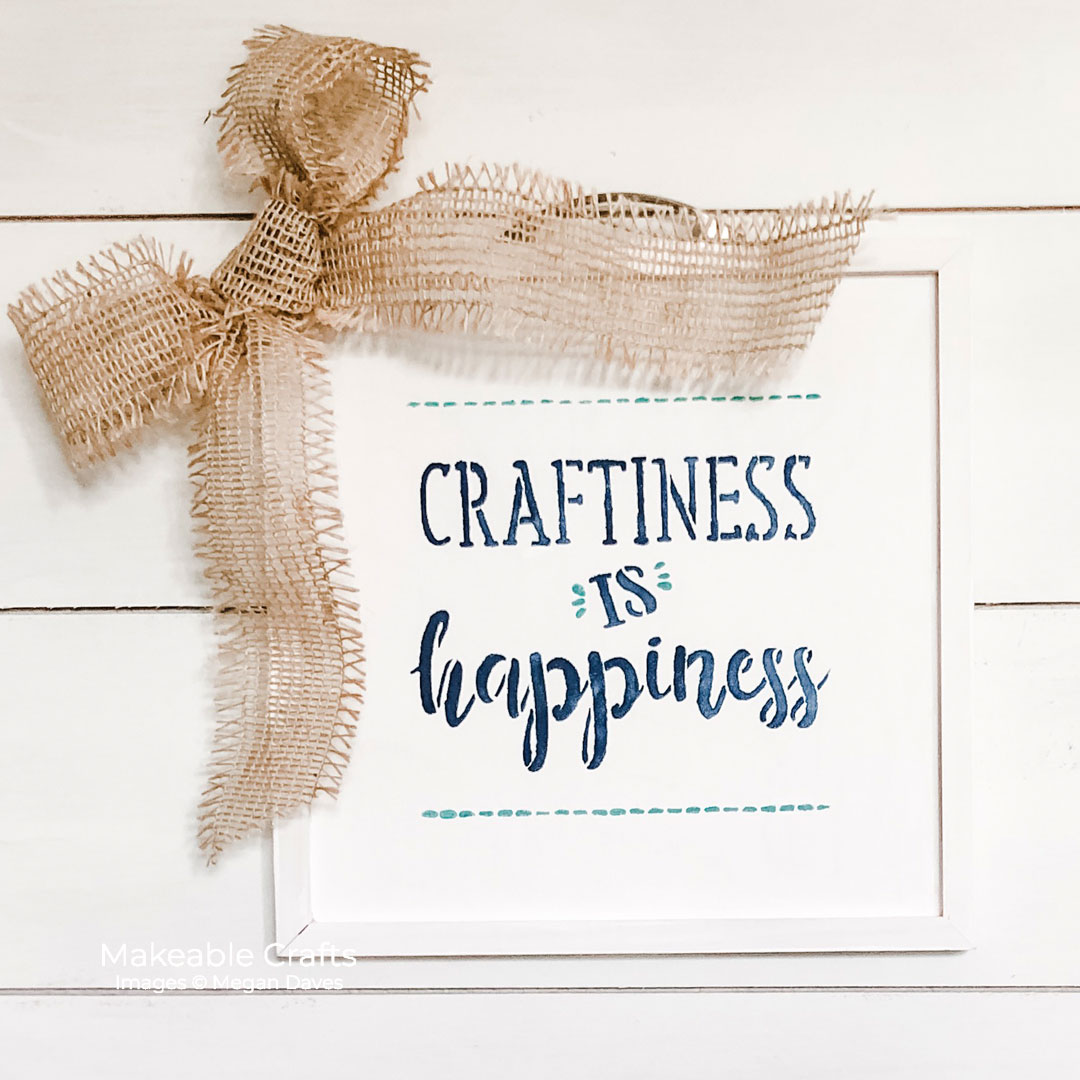
Here is the holiday sign:

I LOVE the way that this turned out. To make both sides would take you probably 2 hours, because of drying time. This was not a highly involved project, certainly didn't take a lot of supplies. And if you are short on time, do as I did and space out creating the front side and the back side. I did the first side and then waited two weeks to do the other side. You could even wait months.
What I liked most about working with these products is the coverage I got from the Americana Snow (Titanium) White paint with the stencil bleed. I was more than impressed. Many times when working with stencils, crafters don't anticipate the stencil bleed and get frustrated with their results and stop. If this has been your experience in the past, I encourage you to try again, expect the bleed and have a liner brush ready to go back over the areas you need to.
Pin It
I hope that you have enjoyed seeing this double sided craft room sign and learning some tips along the way. Here is a graphic for you to pin to your Pinterest boards so you can easily find it again.
Thank You
Thank you so much for joining me today for this. Like this home decor project? Then be sure to check out this one, and this one. There are always more projects coming to Makeable Crafts and I can't wait for you to see them! Hugs, Meg




i love your blog and always like new things coming up from it.
Thank you so much!!
I have never thought to flip something over to do the back side too. Great idea and both versions look great! Pinned and thanks for sharing with us this week. #HomeMattersParty
I love the Believe in Magic sign. My favorite quote is Roald Dahl’s “Those who don’t believe in Magic will never find it”. Great post. I’d be so honored if you shared it on the Share the Wealth Party at My Big Fat Menopausal life.
http://bigfatmenopausallife.blogspot.com/2021/09/share-wealth-ii-second-installment-of.html
Love these! Thanks for sharing at Vintage Charm!