
Hat Heat Press Tutorial
It's hat heat press tutorial time! Summer is approaching, which for me means hat season. I've struggled with the mini heat presses on hats. I can get the job done, but if there is an easier way to do it, I'm all for it.
I make quite a few baseball caps for the kids on our street that are involved in all the sports – and I mean ALL of them. Plus, I have fun making different hats for graduates. Since heat transfer vinyl is so cheap, you can pick up a cap for way under $10, add your vinyl, and you have a great gift!
There are all different kinds of heat press machines and from all different companies as well.
You can use it for any type of heat transfers, it doesn't just have to be for heat transfer vinyl. You can use it with full color DTF transfers (high-quality image transfers), commercial or custom patches, and applying rhinestone transfers as well.
When I was researching hat heat press machine, I was looking for:
- Digital Time Display
- Temperature Control
- Unit Price
- Free Shipping
- Work on different sizes and different kinds of hats
- Durable Machine
- Easy to Store
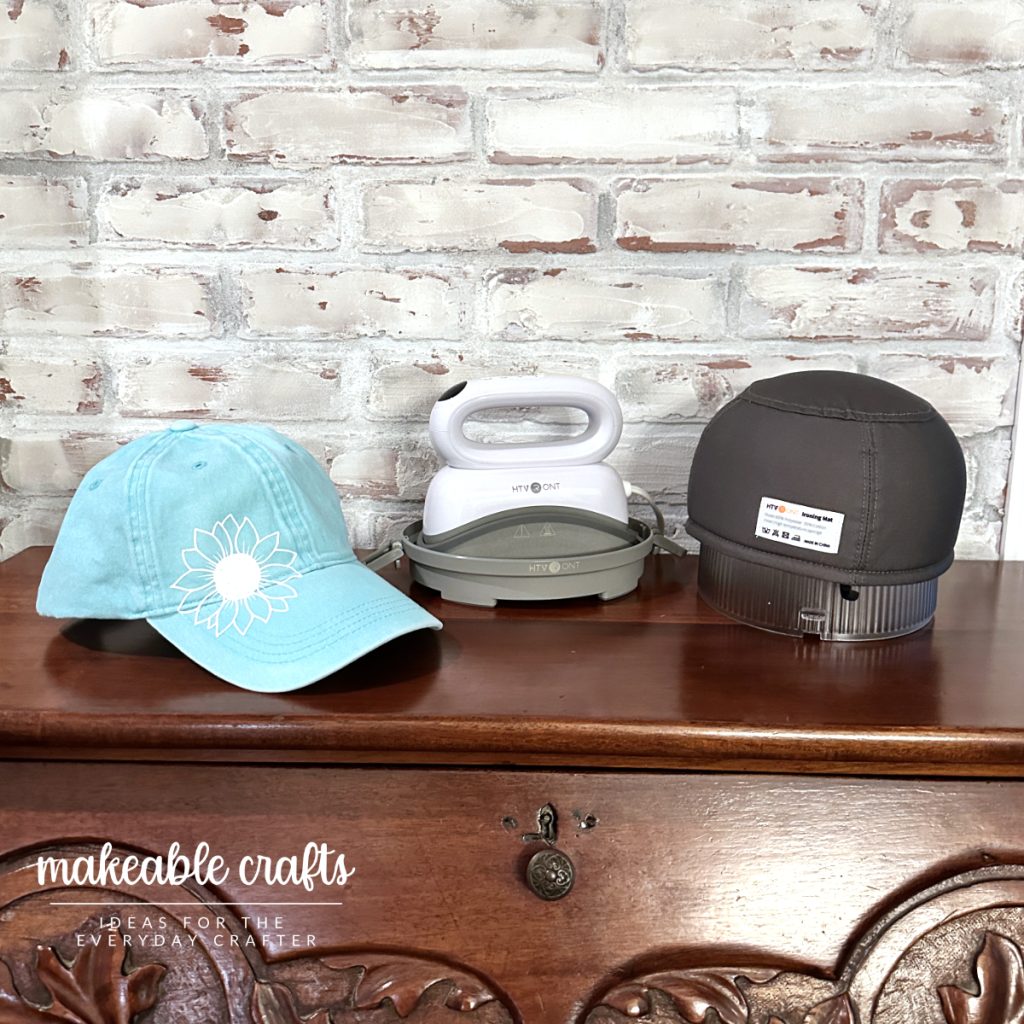
- All-in-One Heat Press (pressing mat, machine, storage, all of it!)
With this list, I went shopping for my new machine – and it led me to the one from HTVRONT. I love their vinyl, and their 9″ x 9″ heat press. They have such a great product range. So when I was looking for one, it just made sense to try their machine first. You can often find a sale price for these, but their regular price is a fair price as well.
As with anything you buy, you will want to unpack your hat heat press and get rid of all the packing materials. I love that they have bubble wrap in the inside of the dome for shipping, but make sure to remove that also. Plug it in and make sure it turns on with the power button.
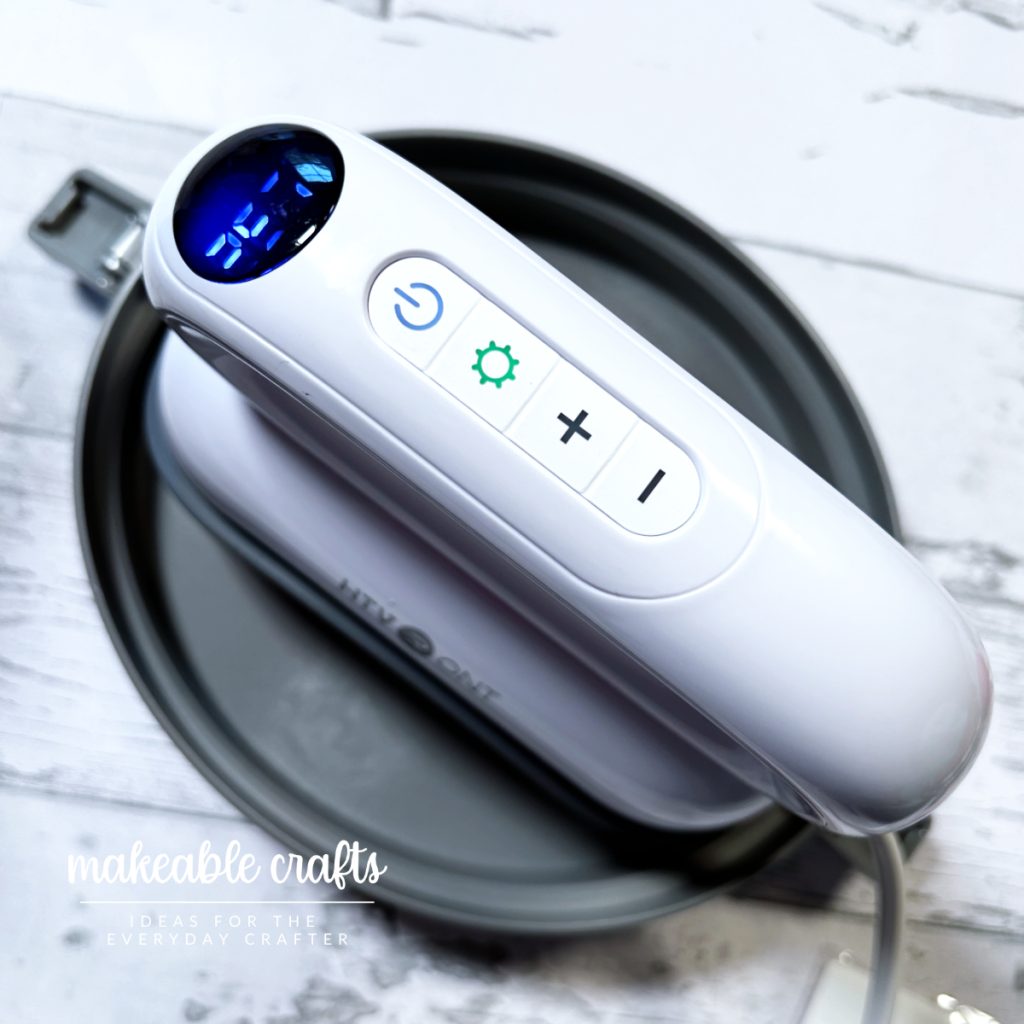
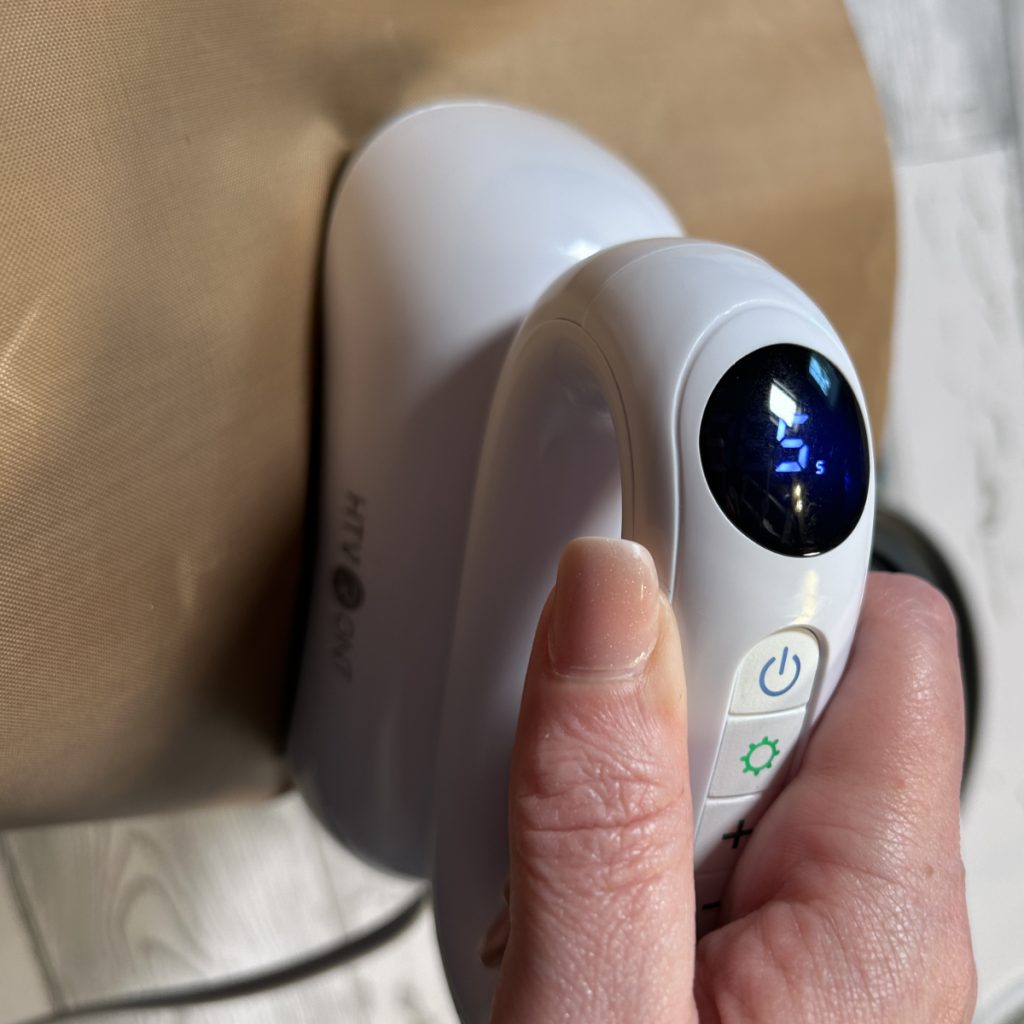
The power button is on top of the handle, I love that it's nowhere near the heating element. The time and temperature settings are also controlled on the top of the handle.
Remember how I said easy to store was a consideration? This one has a great bag that holds everything including the comprehensive heat press guide. It drives me nuts when I can't find settings easily, and the booklet fits right in the bag!
Once it's all tested, it's ready for it's first use, and that's the good part 🙂
Picking Your Hat
You can use any kind of hat. Regular baseball caps, bucket hats, trucker hats (I sound like the Forrest Gump movie listing off all the ways you can have shrimp!)
They can be cotton or polyester when it comes to the hat itself. If you are going to be using sublimation images, make sure you have the right type of material for that. Regardless of what you use, check its high temperature resistance. My neighbor bought a hat from a dollar store that's more like a reusable grocery bag, that will just melt. Don't waste the $1.25 on it!
For me, the biggest issue was figuring out the seams. Did I want a seam in the middle? Did I want it on the side?
To answer that, most of the time it comes down to what my images or wording will be. That's the biggest clue in choosing your hats.
Creating Your Graphic
I get most of my designs from Creative Fabrica. It's a great way to get an amazing assortment of SVGs and fonts. They have the most brilliant designs. To me, the annual payment is a no-brainer!
Use the software that works best for your e-cutter, load in your digital files or create them in the software. There are many vinyl cutters you can use. You can do basic or the most intricate designs. It's whatever you are wanting to do.
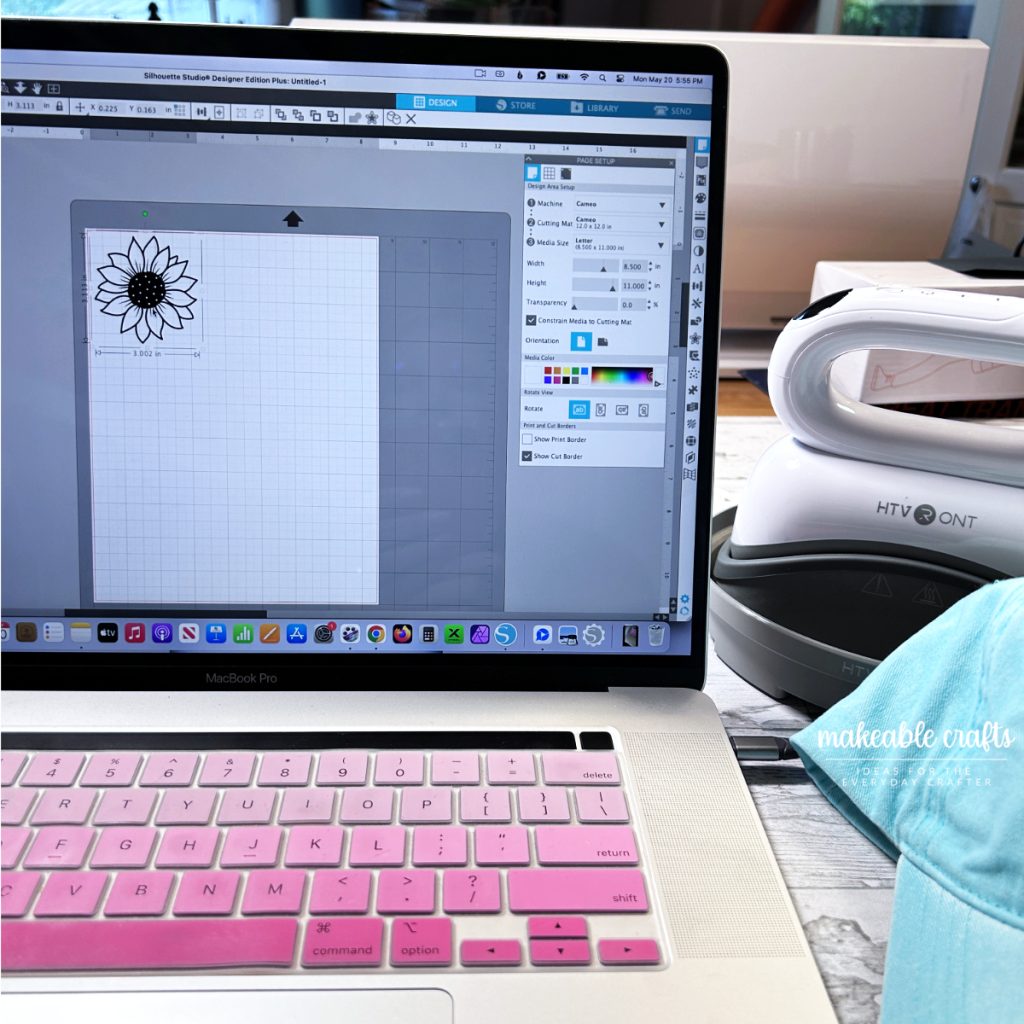
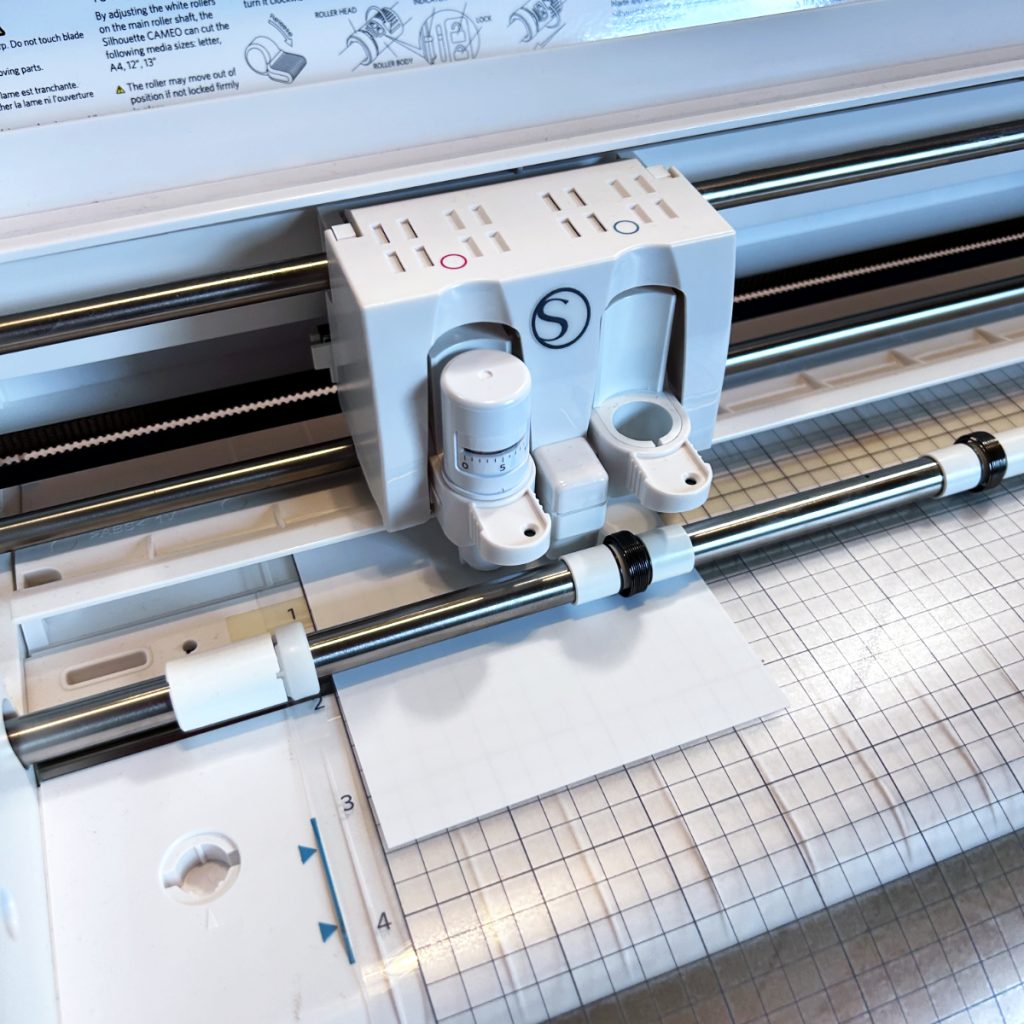
Cut out your heat transfer vinyl (make sure to mirror it if you need to) and weed it with your tools. If you are using HTVRONT HTV, you won't need transfer paper. With most HTVs you won't need it, it will come on its own carrier sheet you will remove later.
Heat Press Time
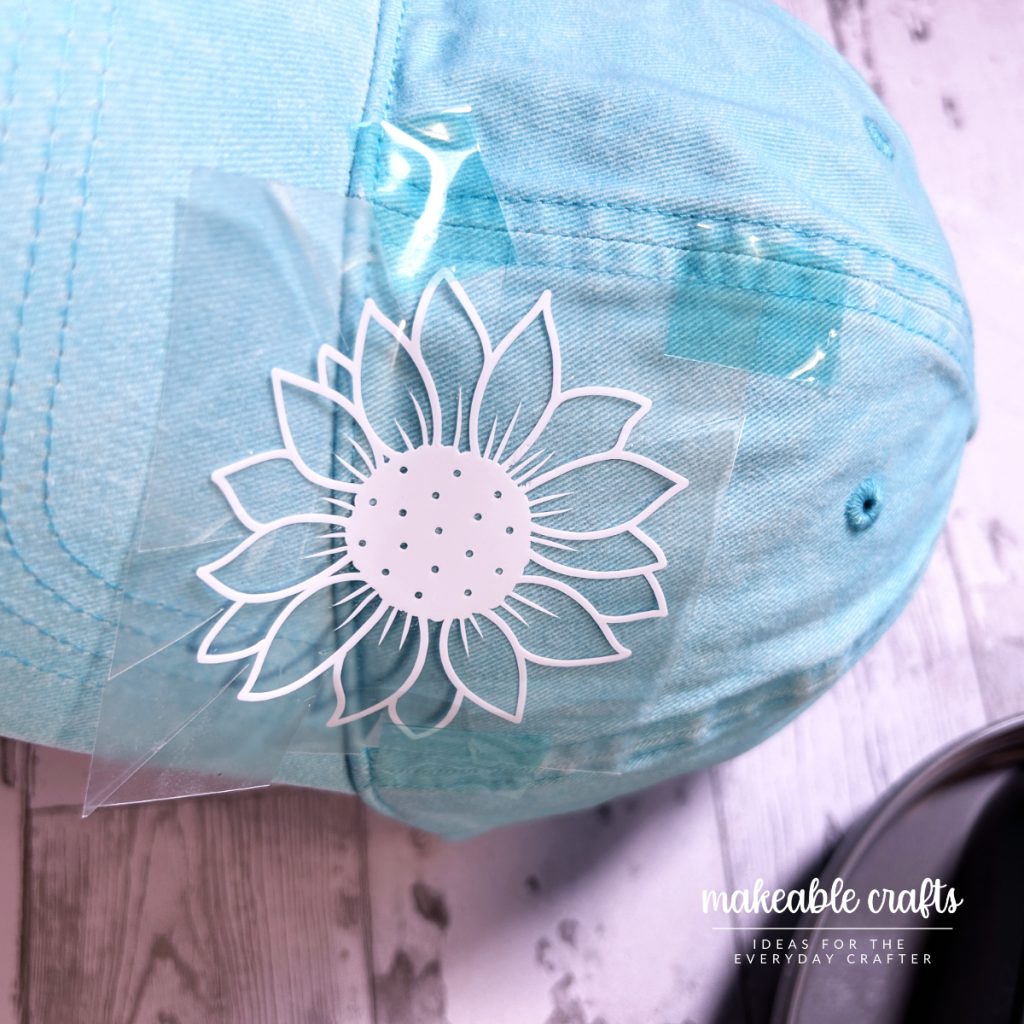
Now we get to apply our HTV with our hat heat press! I'm going with the most basic of heat transfer methods. We are using a HTV that has a clear carrier sheet on it. The instructions recommend a heat resistant tape to hold your vinyl in place, so I am using that as well.
So we set the temperature and adjust the set time durations for what you are you doing.
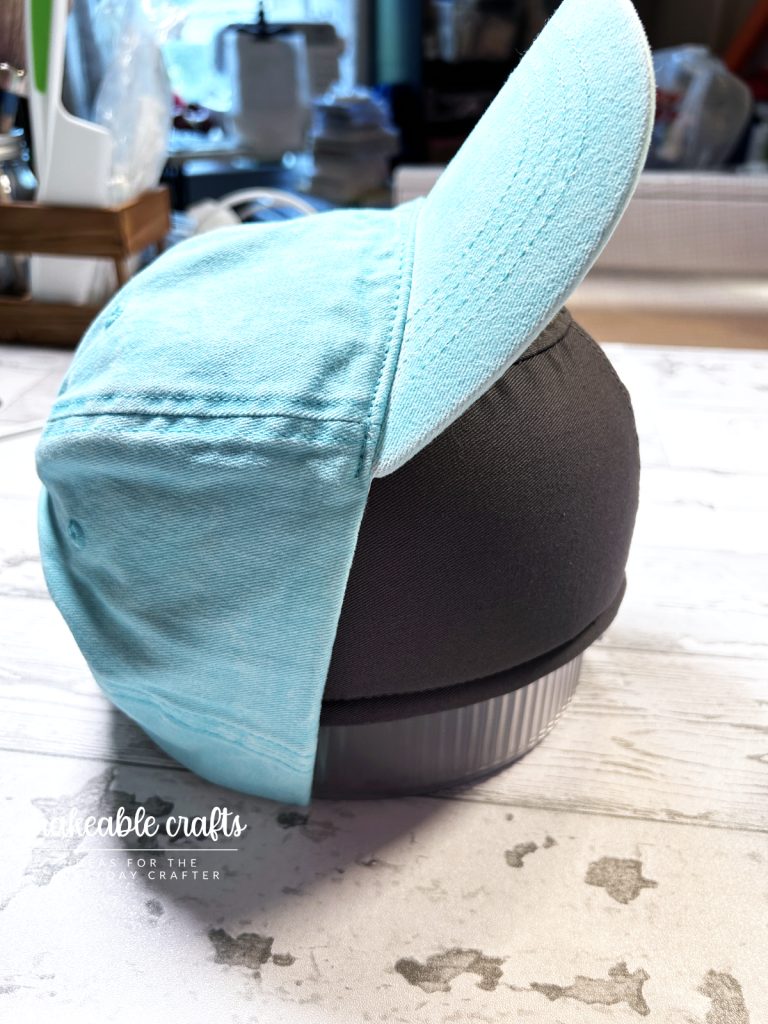
Have your thick mat pad secured onto the clear dome, secure your hat over the thick foam pad, put your heat press in place, then hold the power button for two seconds to start your countdown. Use a firm and steady pressure to apply. After your timer beeps, let it cool to check it. Go over any areas that may need a bit more time with the hat heat press tool.
My HTV is a cool peel, so once it's completely cool, remove the carrier sheet. If you need to go back in and spot heat, use a teflon sheet over your vinyl before using your hat heat press.
More Ideas:
For those of my side hustler friends, this is great tool to take to a craft fair, as long as you have a power source. You can customize on site, cut on site, and heat press on site. You can contact local sports teams and see if they have a vendor. Many will for the players, but not for the moms and dads. But this hat heat press can definitely be used for commercial use.
I helped a friend set up to do these in a parking lot at a baseball tournament (my hats off to anyone that can survive a baseball tournament – those are no joke – even though the “hats off” part was!). During those long stretches in between games, make hats! Have a selection book of things they can choose from, so you aren't in design hell. Before a tournament, you can see who is playing and often see the team graphics and colors, then go off of that for designs. But imagine coming home from a tournament with more money than you left with! She did all the cutting and her hubby did the heat pressing.
Obviously, if you are doing water bottles, you won't want to use a heat press at all. But don't feel confined to only hats! You can do tote bags, custom drinkware, custom mugs – the sky is the limit!
And, of course, make sure you are allowed to do that at the venue you are at. Please don't leave me hate comments on giving ideas on how someone can make money while we spend weekend after weekend doing more sitting and waiting than watching our kids play 🙂
Want to see other vinyl projects? Check out these here.
Other Questions:
What temperature should I heat press to a hat?
It depends on the type of vinyl and the type of heat press.
Can you heat press too long?
Yes! That's why I wanted one with a timer right on it. HTV works by using heat activated adhesive.If you press it too long, you can actually burn the adhesive.
Does it have to be a completely smooth surface hat?
No it doesn't. Especially when you think of seams on hats. But that will play into what kind of design you go with.
How does the HTVRONT hat heat press compare to the Cricut Hat Press?
I don't know. I started with the HTVRONT one and it's worked great for me. I've never used the Cricut one. The best heat press is the one you will use versus the one that will collect dust!
Can you use a flat heat press on hats?
You can, but I recommend the smallest size heat press possible if doing it that way. The biggest issues are what curved item are you going to use on the inside of the hat so you can apply pressure. The next thing is going to be time. With a small flat press, you will spend a lot more time with it – ask me how I know, lol!
What's the difference in a hat heat press machine and a cap heat press machine.
Nothing. Hats vs caps, soda vs pop. All the same, just a curved machine.
Your Turn
Now it's your turn! If you've ever wanted to try to make your own hats and you love HTV, give this a try! I said above that I like to make them for graduation. But you can make them for Father's day, Mother's day, birthdays, Christmas – and so much more! If you have nothing but time on your hands, you can also make them for family reunions. My daughter wants some for her friend group that is going tubing down the river in a few weeks.
I can't wait to see what you create with yours! XOXO, Meg


